
Facebook advertising can be a goldmine to your online business…
…if you know how to do it right. And doing it right means tracking your ads’ performance and your audience’s behavior so you can create targeted ads and run campaigns that are specific to a user’s position in the sales cycle.
Facebook makes this relatively easy with tracking pixels. We make it even easier by handling almost everything for you.
Still, we believe an educated client is a happy client, so here’s a quick rundown on how Facebook pixels work (you can skip to the bare-bones “how-to” section if you want):
A single pixel, invisible to users, is embedded with a unique code and placed on a specific page on your website—an opt-in page, a landing page, a shopping cart or order confirmation page, etc. The code communicates with Facebook every time the page loads, and Facebook matches that event with users who have viewed and/or clicked your Facebook ads.
You can check on the analytics to see which ads are driving clicks and conversions, see how far users are making it in the purchasing process before they bail, and what targeting works best when it comes to generating real revenue.
So that, in a nutshell, is why using Facebook pixels is important. Using them allows you to create cost-effective, revenue-generating ad campaigns; failing to use them means you’re stumbling around blind with your Facebook advertising dollars.
And when you’ve got friends like us who can handle virtually all of the implementation, you really don’t have an excuse.
Types of Pixels
What we’ve described above centers on “conversion tracking pixels,” which are the most essential for your business.
Facebook breaks this pixel type down even further into “Lead Pixels” (used to track lead generation from an opt-in form), “Registration Pixels” (used to track sign-ups and again best placed on a confirmation page), and “Checkout Pixels” (used to track actual purchases).
All of these pixels are best placed on confirmation pages, i.e. after an opt-in, registration, or purchase has occurred, otherwise the pixel will record a “successful” conversion every time the opt-in or sales page loads, even if the user doesn’t sign up or purchase anything.
There are also “Add to Cart” pixels, which can allow you to track customers who consider a purchase but don’t end up going through with it, “Key Page Views Pixels” that, well, tell you when users have viewed key pages, and you can even customize your pixels’ power with the “Other Website Conversions” option.
Setting up multiple types of pixels for all pages of your sales funnel will let you see how far users get in the purchasing process from each of your Facebook ads, and can help you and your team create more targeted and more actionable ads.
Finally, Facebook offers “Custom Audience Pixels,” which allow you to create audience segments based on user behaviors. The pixel is placed on the specific webpage(s) you want tracked, and every time the page loads Facebook gets information from the browsing session. If it notes any behavior that you’ve selected as a criteria for your custom audience, Facebook places that user in your audience and will use that audience to target specific ads as you instruct.
It’s powerful stuff, and it’s actually pretty simple to use.
Facebook Pixels in Four Steps
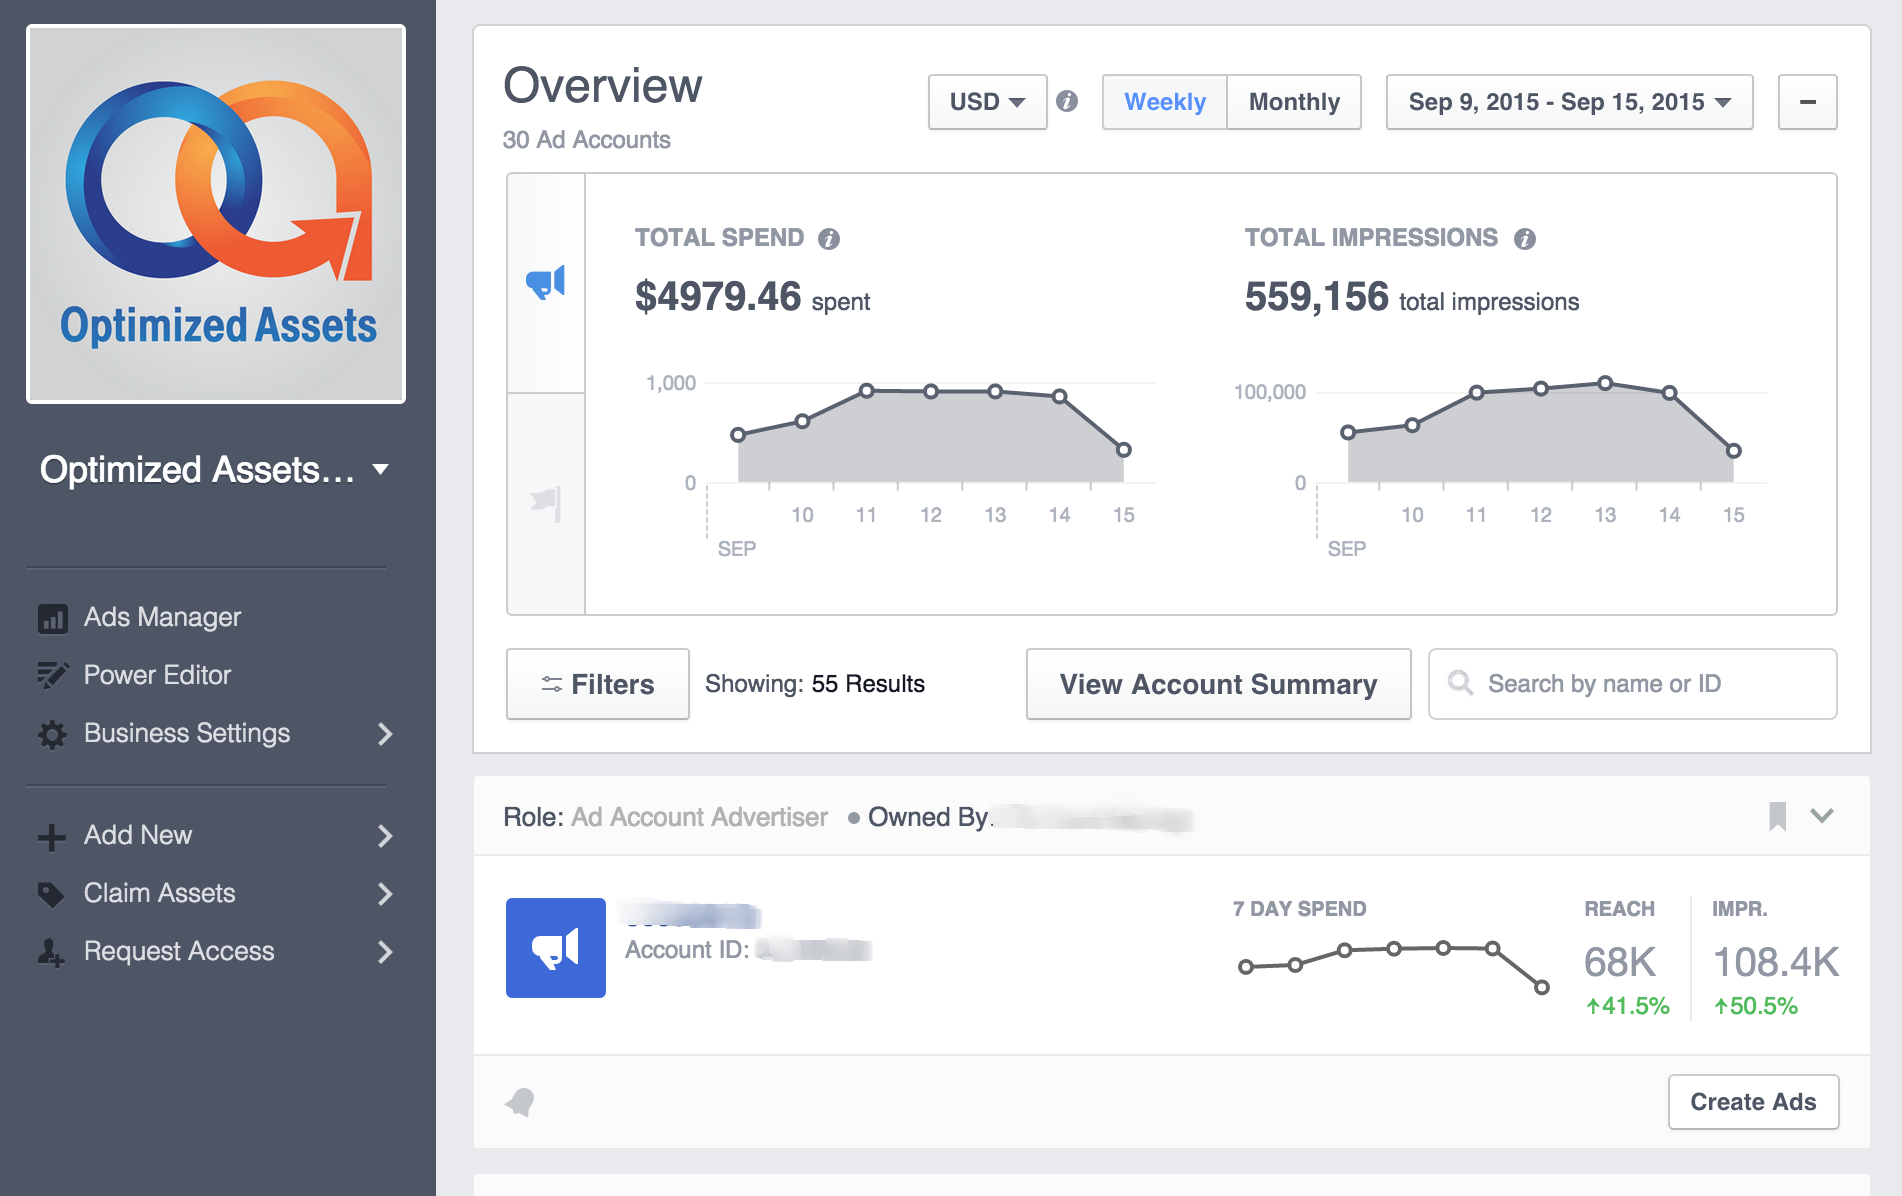
1. Select Your Account
For every pixel you want to create, you’ll need to start by selecting the Facebook advertising account you want the pixel associated with (you may only have one, but many will have more than one account to track different sites and/or businesses):
2. Choose Your Pixel Type
Once you’re in the right account, head over to the “Tools” dropdown menu and select “Pixels”:
Then you’ll need to select either “Custom Audience Pixel” or “Conversion Tracking Pixel”:
If you’re creating a custom audience pixel, you’re already pretty much done—skip ahead to Step 4.
If you’re creating a conversion tracking pixel, there’s a little more info you need to fill out. Start by clicking “Create Pixel”:
![]()
Then, in the dropdown under “Choose the type of action you want to measure,” select the type of conversion activity you want to track:
![]()
3. Name Your Pixel
Every conversion tracking pixel you create gets a specific name so you can more easily track your ads and their effectiveness. Include the location of the pixel (e.g. “OptimizedAssets.com Free SEO Report Opt-in Page”) and any other information that’s pertinent to your campaign, then click that blue “Create Pixel” button and you’re almost in business:
![]()
Pro-tip: try to keep your pixel naming uniform. Once you get the hang of these, you’ll probably be making a lot of them, and a consistent naming system will help you keep track of everything.
4. Get Your Pixel’s Code
For custom audience pixels, go to the “Actions” dropdown and select “Email Pixel Code”
For conversion tracking pixels, you’ll see an “Email Pixel Code” button after you create your pixel
Go ahead and email that code to your web team or add it to the page after the conversion happens (ie. Thank You Page). You can be tracking within mere minutes—it only takes a few clicks!